
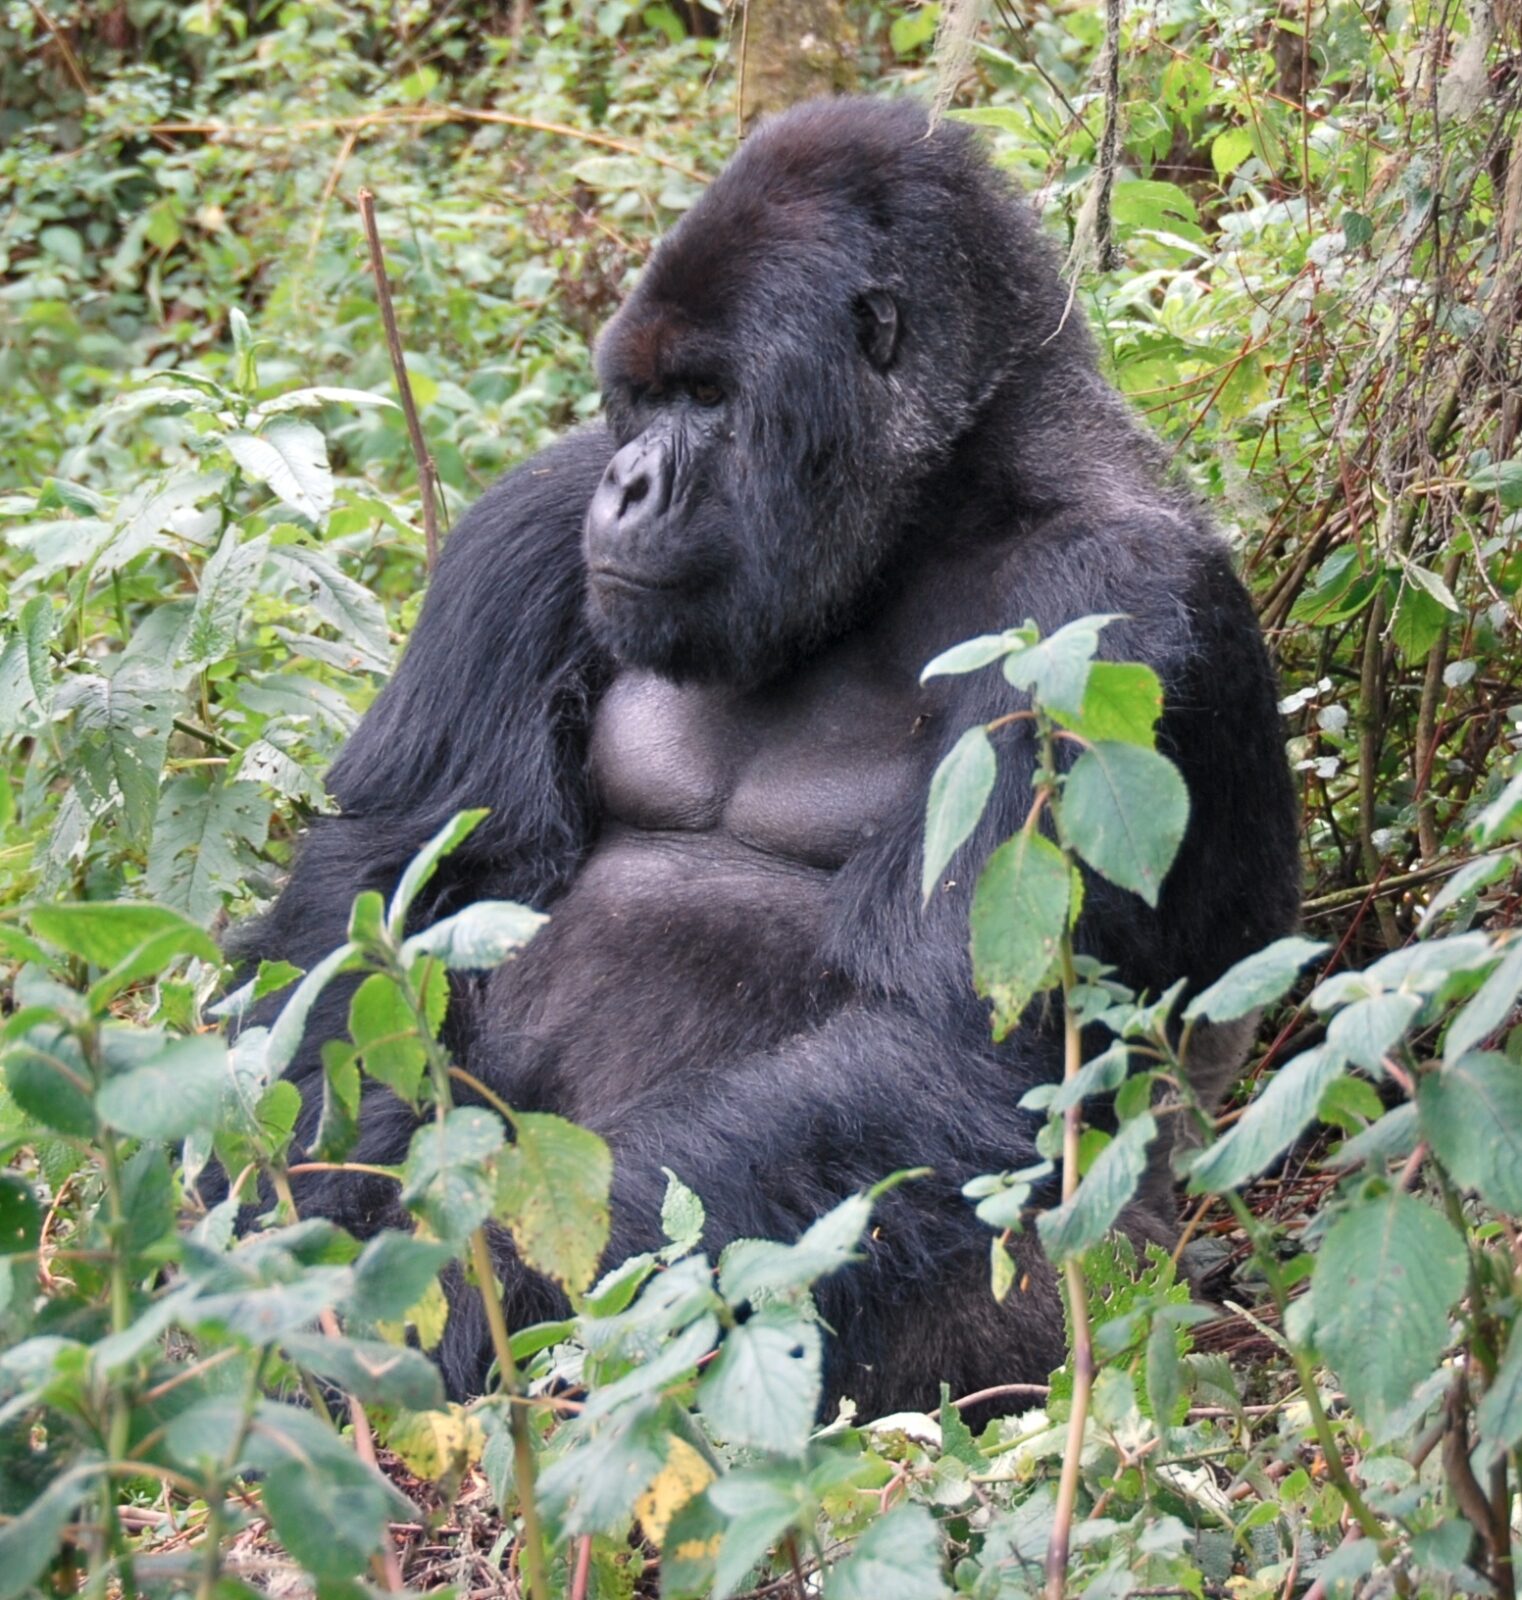
Bringing genuinely valuable camera equipment into a remote rainforest environment, then navigating demanding terrain while trying to capture the encounter itself, raises real practical questions distinct from general trekking safety. Is gorilla trekking safe for photographers deserves a specific answer covering both physical safety and the genuine equipment and technique considerations that shape a photographer’s experience.
This guide covers what photographers should know about gear protection, encounter rules that affect shooting, and how to prepare for a demanding day with equipment in tow.
What Makes This Different From Typical Wildlife Photography
Unlike safari photography from a vehicle, gorilla trekking photography happens entirely on foot, at close but strictly regulated range, and within a genuinely limited one-hour window — a combination that rewards photographers who’ve thought through their approach in advance rather than treating it like any other wildlife shoot.
The Short Answer: Yes, With Genuine Gear Planning
Gorilla trekking is safe for photographers in exactly the same structured way it is for any other trekker, with the added practical layer of protecting and managing camera equipment through demanding, often wet terrain — a genuine logistics consideration rather than a safety concern in itself.
Weather-Dependent Shooting Strategy
Given genuine weather uncertainty regardless of season, having a mental shooting plan for both dry, bright conditions and overcast, wet ones before you set off helps you adapt quickly once you actually reach the family, rather than losing valuable minutes reconsidering your approach mid-encounter.
Encounter Rules That Directly Affect Photography
The minimum viewing distance requirement and the standard one-hour time limit both apply regardless of your photographic ambitions, meaning photographers need to work within these constraints rather than expecting special access or extended time for the perfect shot. Understanding this before your trek helps set realistic expectations for what’s achievable.
Protecting Equipment on the Trail
Genuine weatherproofing for your camera bag, alongside rain covers for individual equipment, matters more for photographers than for trekkers without gear to protect, given the real likelihood of rain and consistently high humidity regardless of season. A dry bag as backup protection is worth carrying even during nominally favourable weather windows.
What Fellow Trekkers Sometimes Wish Photographers Knew
Other trekkers in your group sometimes appreciate a brief, considerate heads-up if you’re planning to spend meaningful time adjusting equipment during the limited viewing window, since a shared encounter works best when everyone’s expectations, including timing around photography, are reasonably aligned.
Carrying Equipment Through Demanding Terrain
Balancing camera equipment with the physical demands of the trek itself is a genuine consideration — a well-designed camera backpack that distributes weight properly, rather than a shoulder bag, makes a real difference over several hours of uneven, sometimes steep terrain. Some photographers specifically hire an additional porter just for camera equipment separate from personal gear.
Backing Up Images Before Leaving the Region
Backing up captured images to multiple locations — a laptop, cloud storage where connectivity allows, a secondary memory card — before leaving the region protects against the genuine risk of losing irreplaceable images to equipment failure or loss during the remaining trip.
Lighting Conditions Inside the Forest
Rainforest canopy cover creates genuinely challenging low-light conditions for photography, worth preparing for with appropriate lens choices and camera settings rather than expecting bright, easy shooting conditions throughout the encounter. Experienced wildlife photographers often recommend fast lenses and comfort shooting at higher ISO settings specifically for this environment.
Insurance Considerations for Valuable Camera Equipment
Standard travel insurance policies don’t always adequately cover high-value camera equipment, worth checking carefully and adding specific gear coverage if needed, particularly given the genuine risk of moisture, drops, or damage inherent to trekking through demanding rainforest terrain.
Respecting the Gorillas While Shooting
Flash photography is prohibited during gorilla encounters, a rule worth planning your equipment and settings around well before your trek date, since arriving unprepared for available-light-only shooting conditions can genuinely compromise your results.
Working With Your Ranger to Maximise Shooting Opportunities
Communicating your photography priorities to your ranger guide early, respectfully and within the encounter’s rules, sometimes helps them position your group thoughtfully during the limited viewing window, worth doing rather than assuming positioning happens automatically without any input from trekkers.
Post-Processing Considerations Given Field Conditions
Given the genuinely challenging lighting and weather conditions common to gorilla trekking photography, planning for meaningful post-processing work once you’re home, rather than expecting perfect in-camera results, sets more realistic expectations for photographers new to this specific environment.
Choosing a Sector With Photography in Mind
Some photographers specifically choose sectors known for more open forest structure or particular lighting characteristics, worth researching and discussing with an operator experienced in photography-focused trekking rather than assuming every sector offers identical shooting conditions.
Battery and Storage Management in a Remote Setting
Given the remote location of most trekking areas, bringing fully charged spare batteries and ample memory card storage is worth treating as essential rather than assuming charging facilities will be readily available throughout your trip, particularly during multi-day itineraries away from reliable power.
What Experienced Wildlife Photographers Recommend for This Specific Trek
Photographers who’ve completed multiple gorilla treks often recommend prioritising a single versatile lens over carrying multiple options, given how much the physical demands of the trek itself compete for attention with managing gear, and how quickly conditions can shift once you actually reach the family.
Physical Preparation Specific to Carrying Gear
Beyond general trekking fitness, photographers benefit from specifically practising carrying their loaded camera bag on training hikes before the trip, since the added weight and different balance genuinely change the physical experience compared to trekking without equipment.
Final Thoughts for Photographers Considering This Trip
Gorilla trekking rewards photographers who prepare deliberately for genuinely challenging field conditions rather than expecting studio-like control, treating the encounter’s inherent unpredictability and constraints as part of what makes the resulting images genuinely meaningful and worth the significant effort involved.
Frequently Asked Questions
Does bringing camera equipment mean I get extra time with the gorillas?
No — the standard one-hour viewing window applies to every trekker regardless of photographic equipment or ambitions.
Is flash photography allowed during the encounter?
No — flash photography is prohibited to protect the gorillas, worth planning your camera settings around well before your trek date.
Should I hire a separate porter for camera equipment specifically?
Worth considering for photographers carrying substantial gear, since balancing equipment weight with personal items and demanding terrain is a genuine consideration.
What lens setup works best for gorilla photography in this environment?
Fast lenses suited to low-light rainforest conditions are widely recommended, given the canopy cover’s genuinely challenging lighting throughout most encounters.
Will I have access to charging facilities during my trip?
Not reliably, given the remote location of most trekking areas — bringing fully charged spare batteries and ample storage is worth treating as essential rather than assumed.
Should I bring multiple lenses or keep it simple?
Many experienced trekking photographers recommend a single versatile lens, given how much the trek’s physical demands compete with managing multiple gear options in the moment.
Can I ask my ranger to help position the group for photography?
Worth communicating your priorities respectfully and within the rules — rangers sometimes help with thoughtful positioning during the limited window, though it’s never guaranteed.
Should I expect perfect shots straight out of camera?
Realistically no — given challenging field conditions, planning for meaningful post-processing work once home sets more accurate expectations than assuming perfect in-camera results.
Does standard travel insurance cover expensive camera equipment?
Not always adequately — worth checking carefully and adding specific gear coverage given the genuine risk of moisture or damage during a demanding rainforest trek.
How is gorilla trekking photography different from typical safari photography?
It happens entirely on foot at close but strictly regulated range within a limited one-hour window, a genuinely different combination than vehicle-based safari photography elsewhere.
Should I back up my images before leaving the region?
Yes, strongly worth doing — backing up to multiple locations protects against genuinely losing irreplaceable images to equipment failure or loss during the rest of your trip.
Should I give my group a heads-up about my photography plans?
A brief, considerate mention is worth doing — a shared encounter works best when everyone’s expectations around timing and equipment adjustments are reasonably aligned.
Should I plan for both dry and wet shooting conditions in advance?
Yes, genuinely worth doing — having a mental plan for both scenarios helps you adapt quickly rather than losing valuable minutes reconsidering your approach mid-encounter.
Plan the Rest of Your Trip
For the full cost picture, this full cost breakdown is worth reading, alongside this Rushaga permit cost guide if that sector’s family variety appeals to your photography goals. For broader planning, this step-by-step Uganda permit booking guide is a useful next read, and this rainy season guide covers the lush scenery trade-off worth weighing for atmospheric shots.