
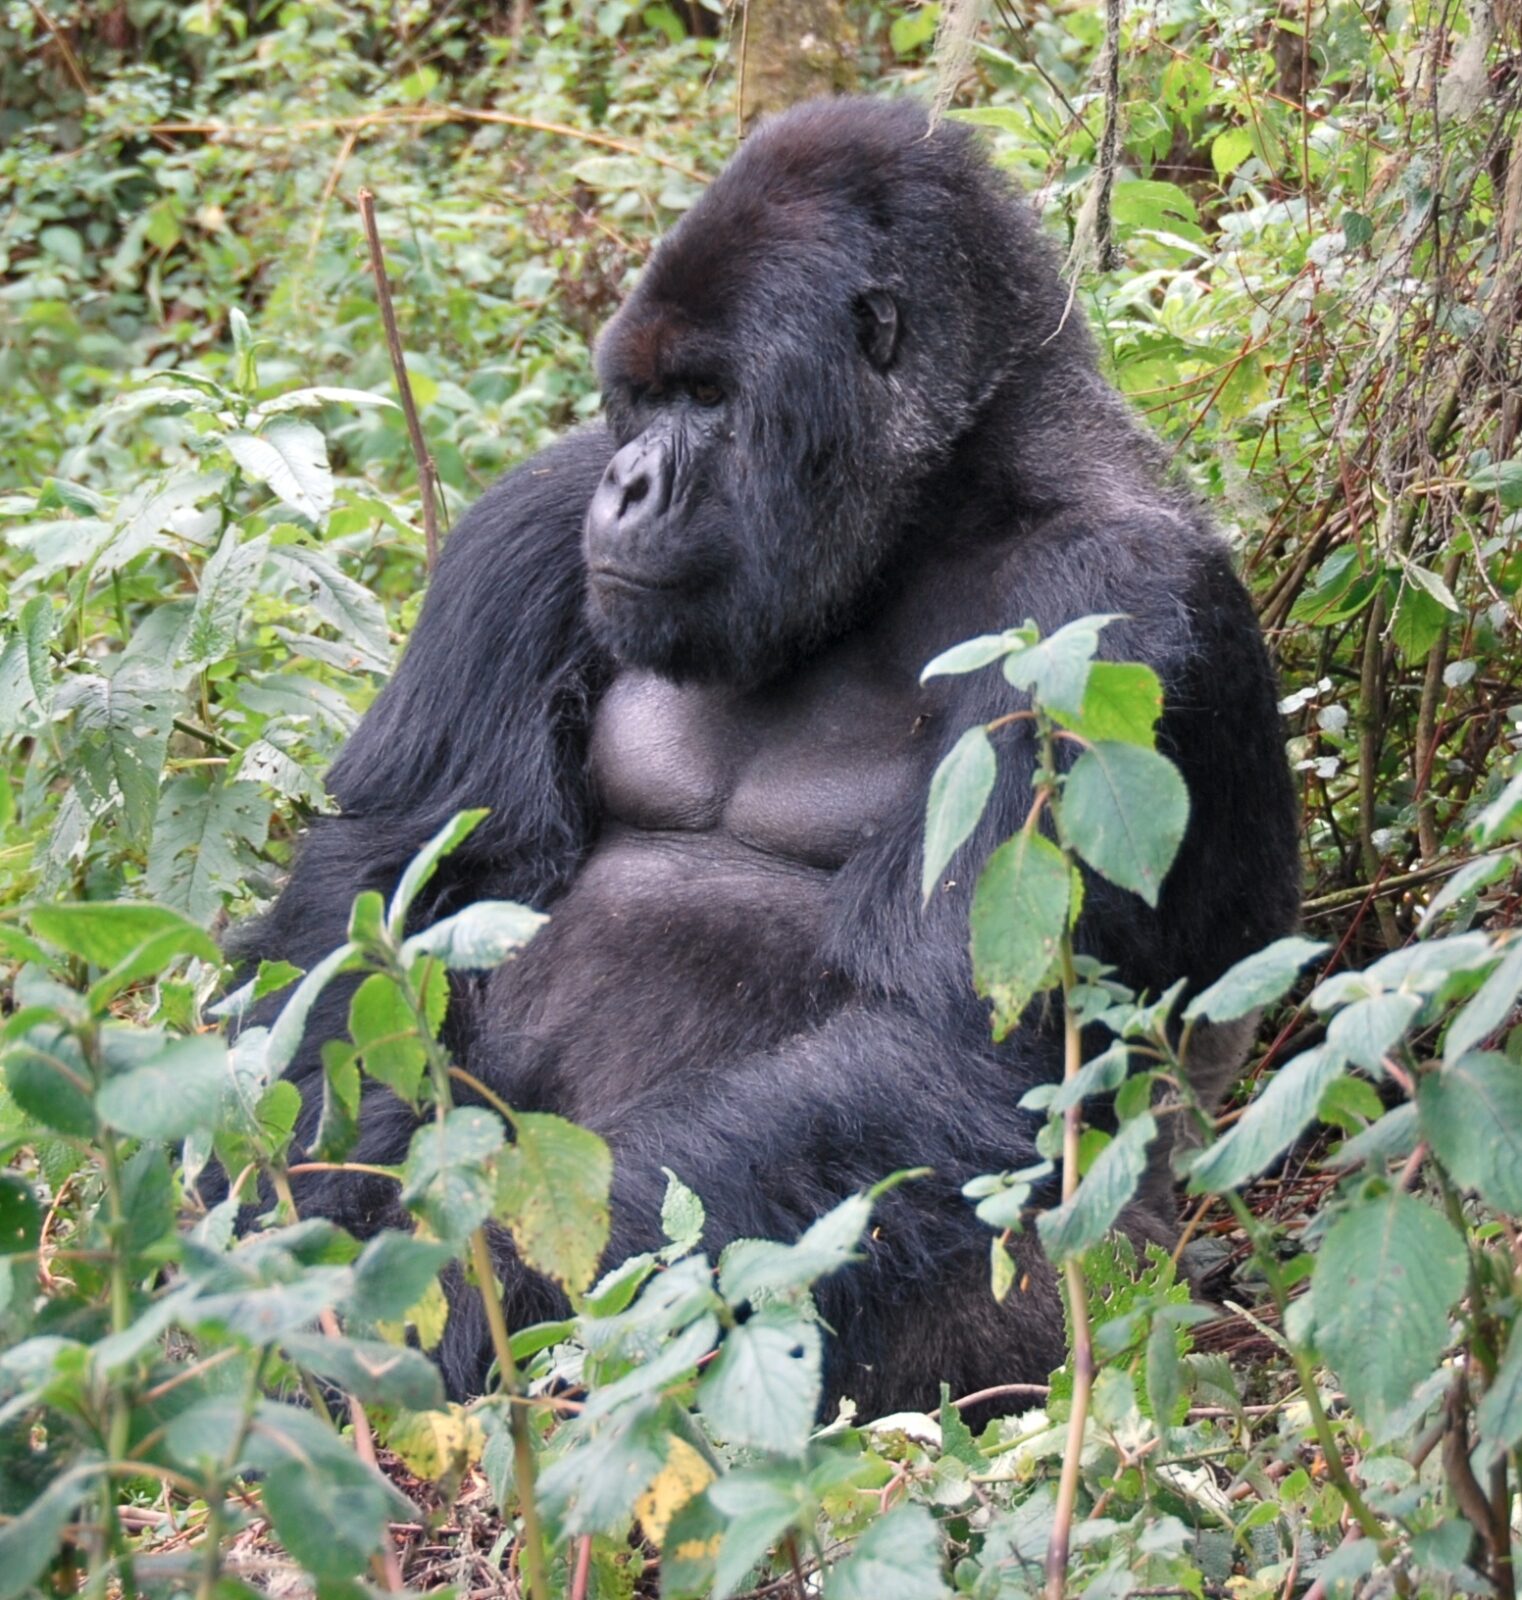
Bwindi’s dense forest canopy filters out most direct sunlight, creating genuinely challenging low light conditions that catch many first-time gorilla photographers off guard when their bright, sunny test shots at home don’t translate to the actual forest environment. How do I photograph gorillas in low light conditions deserves a specific, technical answer rather than generic photography advice.
This guide covers exactly how to handle gorilla trekking’s genuinely challenging light conditions, what camera settings actually work, and how to capture sharp, well-exposed images despite the forest’s dim environment.
Why Low Light Genuinely Defines Gorilla Photography’s Core Challenge
Unlike open-plains safari photography with abundant direct light, gorilla trekking’s forest setting genuinely creates one of wildlife photography’s more demanding light environments, worth understanding this as the central technical challenge to prepare for specifically.
The Short Answer: Wide Aperture, Higher ISO, and Image Stabilization
Successfully photographing gorillas in low light genuinely requires embracing a wide aperture, accepting a higher ISO than you might normally use, and relying on image stabilization rather than a slow shutter speed that risks motion blur from both your hands and the gorillas’ movement.
Why Aperture Priority Mode Genuinely Simplifies Your Settings
Shooting in aperture priority mode, set to your lens’s widest available aperture (f/2.8 to f/4 ideally), genuinely lets your camera handle shutter speed automatically while you focus on composition and gorilla behavior rather than manually juggling every setting during your brief viewing hour.
How High Should You Genuinely Push Your ISO
Don’t hesitate to push ISO to 1600, 3200, or even higher if your specific camera handles noise reasonably well at these levels – a slightly grainy but sharp, well-exposed image genuinely beats a cleaner but blurry one in this specific low-light forest context.
Why Image Stabilization Matters More Here Than in Brighter Conditions
A lens or camera body with genuine image stabilization technology meaningfully helps compensate for camera shake at the slower shutter speeds low light forces, worth prioritizing this specific technical feature when choosing or renting equipment for this trip.
What Shutter Speed You Should Genuinely Aim For
Aiming for a minimum shutter speed of 1/250th of a second, faster if the gorillas are actively moving, genuinely helps freeze motion despite the challenging light – worth prioritizing this minimum over achieving a lower, cleaner ISO in this specific shooting scenario.
Why Shooting in RAW Format Genuinely Gives You More Recovery Options
Shooting in RAW rather than JPEG format genuinely preserves more image data, giving you meaningfully more flexibility to recover shadow detail and correct exposure during post-processing than a compressed JPEG file would allow.
How Forest Canopy Gaps Genuinely Create Better Opportunities
Watching for moments when gorillas move into naturally brighter clearings or canopy gaps genuinely gives you meaningfully better light than the deepest forest shade, worth staying alert to these opportunities throughout your viewing hour rather than shooting only in your initial position.
Why Continuous Autofocus Mode Genuinely Helps With Moving Subjects
Setting your camera to continuous autofocus mode, rather than single-shot focus, genuinely helps maintain sharp focus as gorillas move or shift position, worth configuring this setting before you reach viewing distance rather than adjusting it during your limited time.
What Metering Mode Genuinely Works Best in This Environment
Spot or center-weighted metering, rather than full evaluative metering, genuinely helps ensure your gorilla subject is properly exposed even when surrounded by contrasting bright and dark forest elements in the frame.
Why Practicing These Settings Before Your Trip Genuinely Matters
Practicing your camera’s manual or aperture-priority settings in genuinely low-light conditions before your trip – an evening walk, an indoor dim setting – builds real familiarity that pays off during your actual limited viewing hour, worth this deliberate preparation.
Why Smartphone Photographers Face an Even Greater Challenge Here
Trekkers relying primarily on a smartphone camera genuinely face a more pronounced version of this low-light challenge, given phone sensors’ typically smaller size and more limited manual control, worth adjusting expectations accordingly or supplementing with a genuine dedicated camera if photography quality matters significantly to you.
What Professional Photographers Say About Embracing These Conditions
Professional wildlife photographers consistently emphasize accepting higher ISO and embracing some grain as the genuinely correct trade-off for gorilla trekking’s specific light conditions, rather than chasing settings better suited to bright, open environments.
Why Back-Button Focus Genuinely Helps in This Specific Scenario
Configuring back-button focus, separating your autofocus trigger from your shutter button, genuinely gives you more precise control over when your camera refocuses, worth setting this up before your trip if your specific camera model supports it and you have some prior experience with this technique.
How Burst Mode Genuinely Improves Your Odds of a Sharp Frame
Shooting in continuous burst mode, capturing several frames per second rather than single shots, genuinely increases your odds of capturing at least one genuinely sharp frame despite low light’s slower shutter speeds and any subject movement during that sequence.
Why White Balance Adjustment Matters More Than Trekkers Expect
Forest shade genuinely creates a cooler, greenish color cast that auto white balance doesn’t always correct accurately, worth adjusting your white balance setting manually or planning to correct this in post-processing if you’re shooting RAW specifically.
What Lens Choice Means for Your Low-Light Performance Specifically
A lens with a genuinely wide maximum aperture throughout its zoom range, rather than one that narrows significantly at longer focal lengths, performs meaningfully better in gorilla trekking’s specific low-light conditions, worth prioritizing this specification when choosing equipment for this trip.
Why Some Photographers Recommend a Monopod Over a Tripod
Given gorilla trekking’s mobile, fast-changing viewing conditions, some experienced photographers recommend a lightweight monopod over a full tripod specifically for stability support without sacrificing the mobility needed to reposition quickly during your limited hour.
How Your Camera’s Noise Reduction Settings Should Genuinely Be Configured
Setting your camera’s high-ISO noise reduction to a moderate rather than aggressive level genuinely preserves more fine detail in your gorilla images, worth checking this specific setting before your trip since default settings sometimes apply overly aggressive noise smoothing.
Final Thoughts on Photographing Gorillas in Low Light
Gorilla trekking’s genuinely challenging forest light rewards photographers who embrace wide apertures, higher ISO, and image stabilization rather than fighting the environment – worth practicing these settings beforehand so you can focus fully on the experience itself during your brief, precious viewing hour with the family.
Frequently Asked Questions
What camera settings work best for gorilla trekking’s low light?
Wide aperture (f/2.8-f/4), higher ISO (1600+), and a minimum shutter speed of 1/250th, relying on image stabilization rather than a slow shutter.
Should I worry about noise from a high ISO setting?
Not particularly – a slightly grainy but sharp, well-exposed image genuinely beats a cleaner but blurry one in this specific low-light context.
Should I shoot in RAW or JPEG format?
RAW, genuinely – it preserves more image data, giving you meaningfully more flexibility to recover shadow detail during post-processing.
What autofocus mode should I use for moving gorillas?
Continuous autofocus mode, rather than single-shot focus, genuinely helps maintain sharp focus as gorillas move or shift position.
What metering mode works best in this environment?
Spot or center-weighted metering, rather than full evaluative metering, ensures your gorilla subject stays properly exposed amid contrasting light.
Does image stabilization genuinely matter for this specific trip?
Yes, meaningfully – it helps compensate for camera shake at the slower shutter speeds this low-light environment genuinely forces you into.
Should I practice these settings before my trip?
Genuinely worth it – practicing in similarly low-light conditions beforehand builds real familiarity that pays off during your limited viewing hour.
Do canopy gaps offer genuinely better shooting opportunities?
Yes – watching for moments when gorillas move into naturally brighter clearings gives you meaningfully better light than deep forest shade.
What aperture should I aim for specifically?
Your lens’s widest available aperture, ideally f/2.8 to f/4, genuinely lets in more light while letting the camera handle shutter speed automatically.
What do professional photographers say about this specific challenge?
They consistently emphasize accepting higher ISO and embracing some grain as the correct trade-off, rather than chasing settings suited to brighter environments.
Should I shoot in burst mode for better odds of a sharp image?
Genuinely worth it – continuous burst mode increases your odds of capturing at least one sharp frame despite low light and subject movement.
Does white balance need manual adjustment in forest shade?
Often, yes – forest shade creates a cooler, greenish cast that auto white balance doesn’t always correct accurately on its own.
Should I bring a monopod instead of a full tripod?
Some experienced photographers recommend this, given the trek’s mobile conditions, for stability support without sacrificing quick repositioning ability.
Should I check my camera’s noise reduction settings before my trip?
Worth it, yes – a moderate rather than aggressive setting preserves more fine detail, since default settings sometimes over-smooth noise.
Plan the Rest of Your Trip
For the full picture on gear, this photography gear guide is worth reading, alongside this photography rules guide. For further planning, this guide on your viewing hour is a useful next read, and this full cost breakdown helps you budget your trip.